
These are the designer paper measurements and scores that I decided on, for a portrait-oriented card.
DSP: 3 1/2" x 9"
Score at 1 1/2", 2", 3", 3 1/2", 4 1/2", 5", 6", 6 1/2", 7 1/2", and 8".
Then you need to cut, from the very bottom of your first score mark (1 1/2") up at an angle til about 1" from the top of the right side of your strip of paper. Fold like curtains, and I attach a line of sticky strip/red-line tape to the top of the back side to really keep all the folds in place. I also put some liquid glue under the middle-ish are of the curtain, to keep it smashed down - that's just my preference to have it tightened down.

Here's a close-up to show where to start your cut.

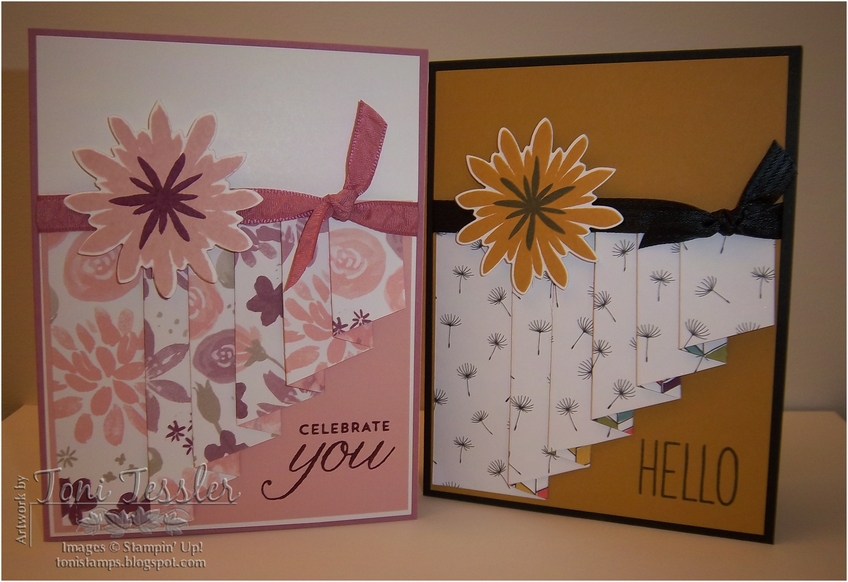
Have fun with this technique! The card on the right was my first finished attempt, after I got the cutting and scoring the way that I liked it.
Stampin' Up supplies that you'll need to create this (the card on the left anyway):
Stamps: Flower Patch, Birthday Blossoms
Ink: Rich Razzleberry, Blushing Bride
Paper: Sweet Sugarplum, Blushing Bride, Whisper White, Blooms & Bliss designer series paper
Other: Big Shot, Flower Flair Framelits, Sweet Sugarplum 3/8" Ruched ribbon, Stampin' Dimensionals, sticky strip/red-line tape, Tombow liquid glue.
Order your supplies on-line here.
Happy Stamping,
Toni
No comments:
Post a Comment